Material:
- 15 meters of outer fabric (doesn’t have to be plaid, any fun print will do. If cut on the bias, 1.6 meters or more is preferable to be better)
- 4 meters of lining fabric
- 4 buttons
- 50cm long ribbon (you can also remove it if you don’t want it)
- Pattern making (adjustments on the child’s prototype) and cutting
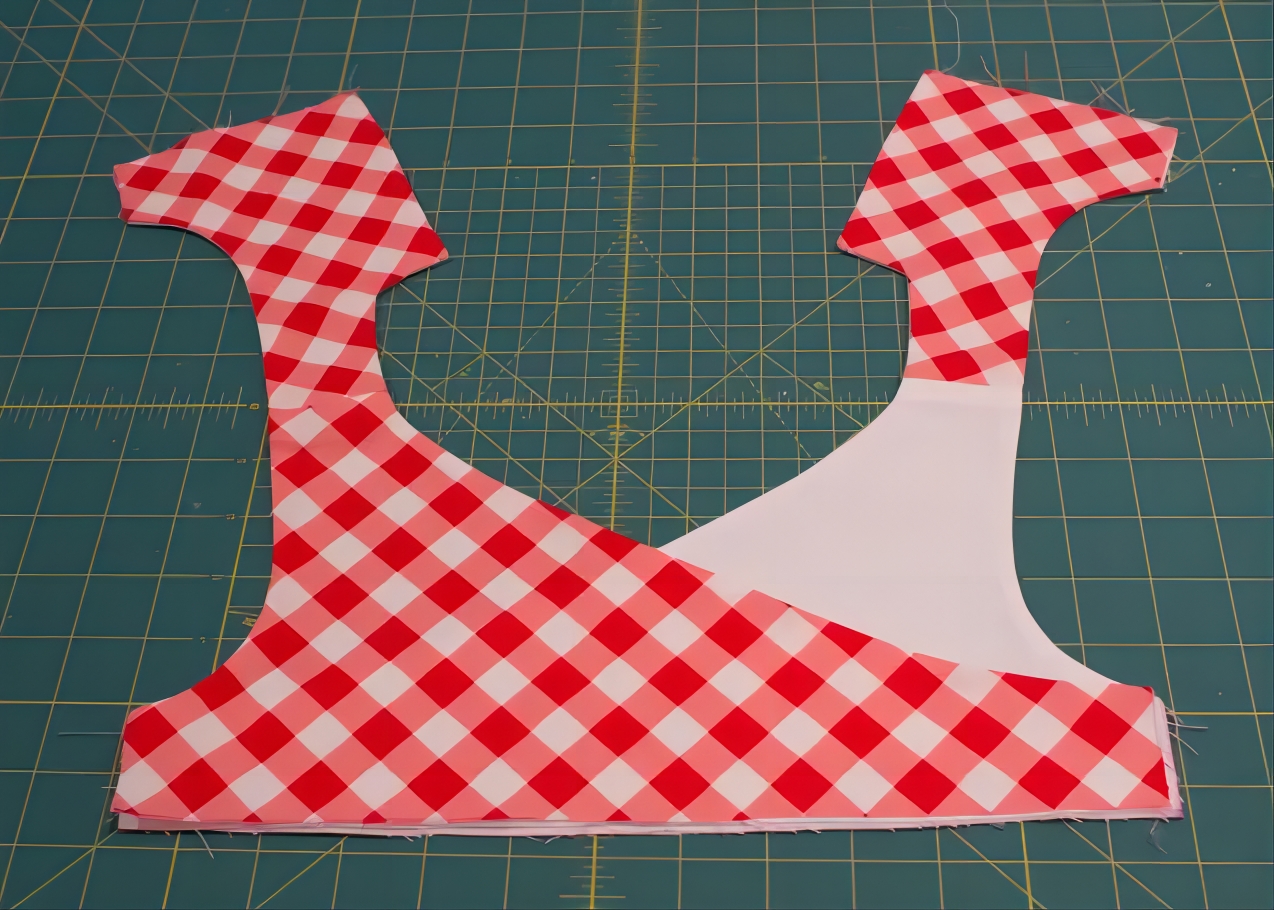
- First, measure the top prototype to the desired length and cut off sections to obtain a high-waisted piece. Topstitch left and right onto paper to obtain a complete front piece.
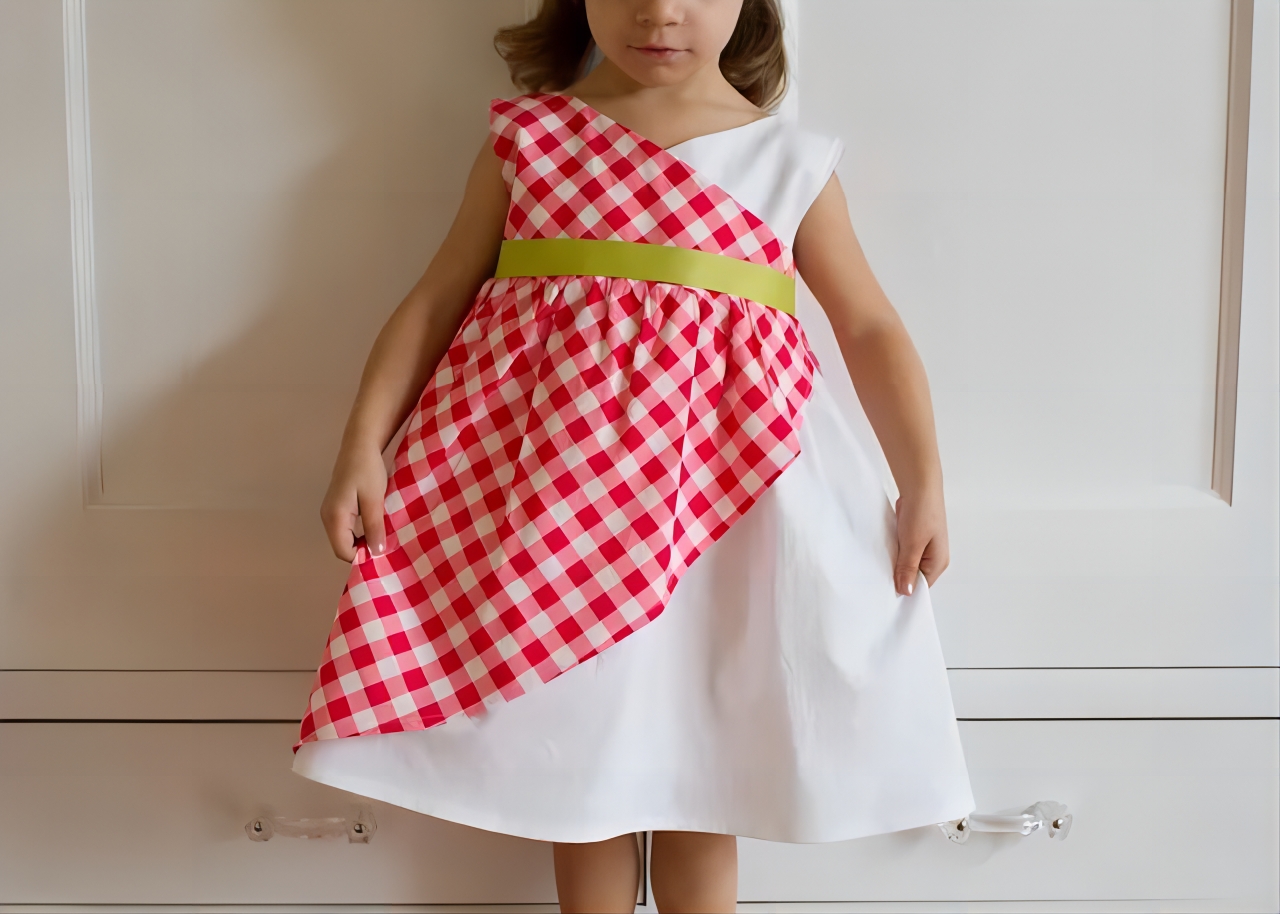
- Draw the sloping collar on the complete front piece, basically from the neck point to the pinch point.
- Cut off the excess.
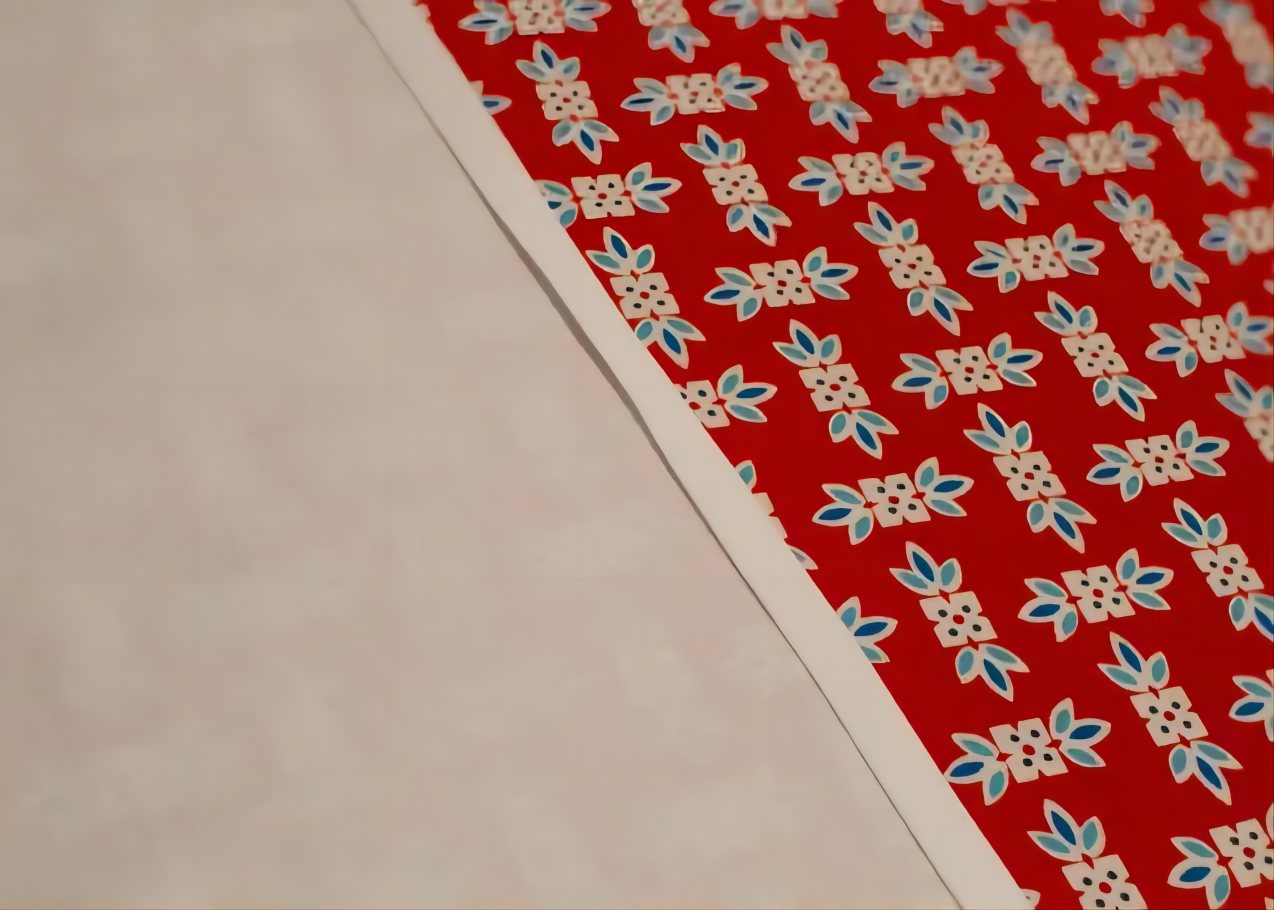
- Indicate the direction of the fabric cut, this is important for what vision you want the garment to have.
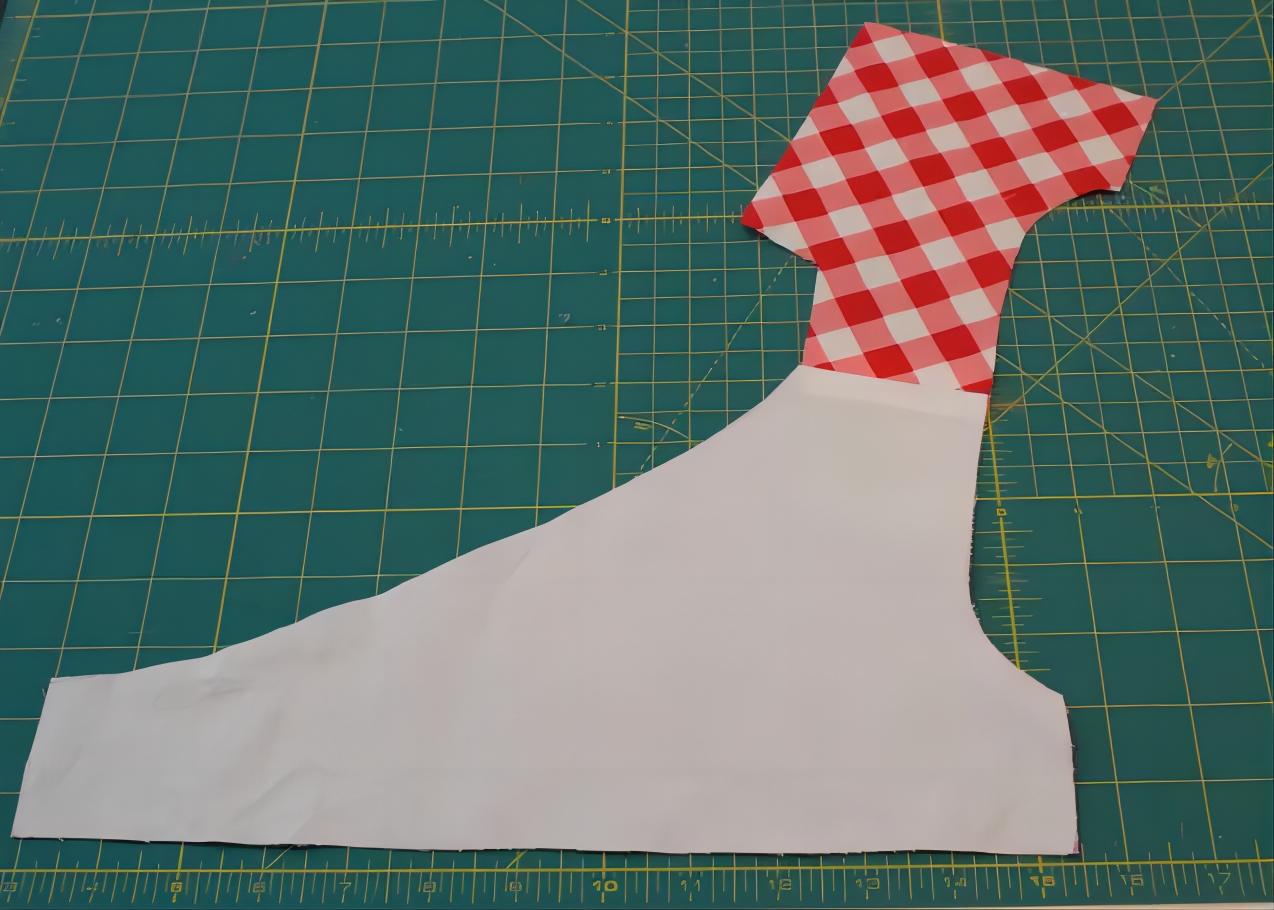
By this way, the top half of the front piece is ready!

For the back piece of the blouse, you just need to take the back piece of the prototype, trim the round neck into a square neck, then draw a diagonal line down the width of the square neck, resulting in a trapezoid, divided into three pieces.
A printable cut-out is available here and the dimensions can be adjusted to suit.
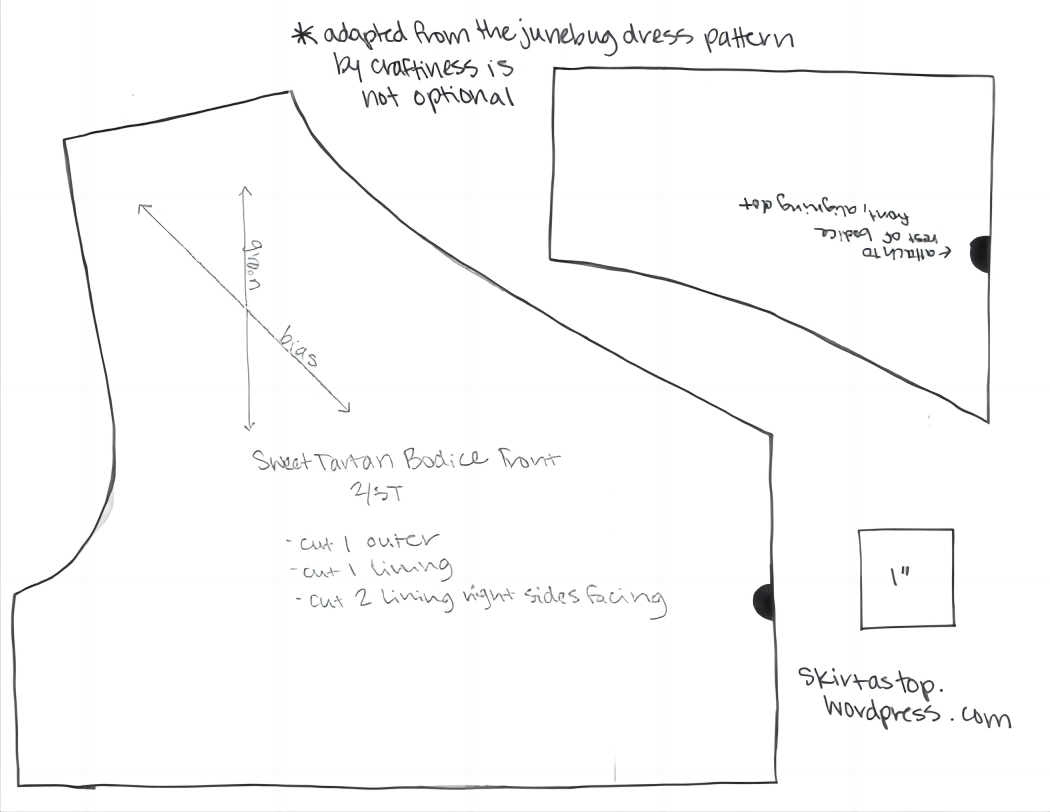
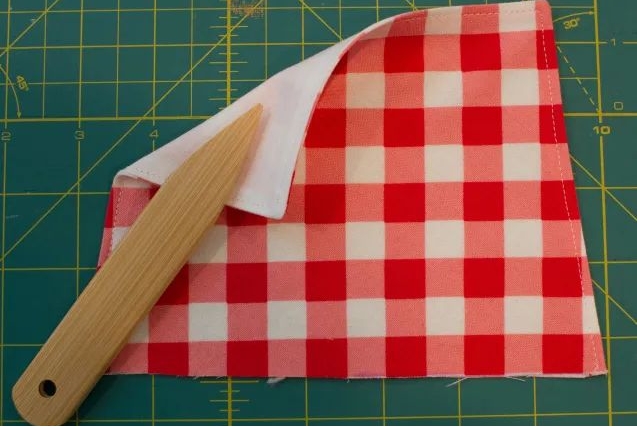
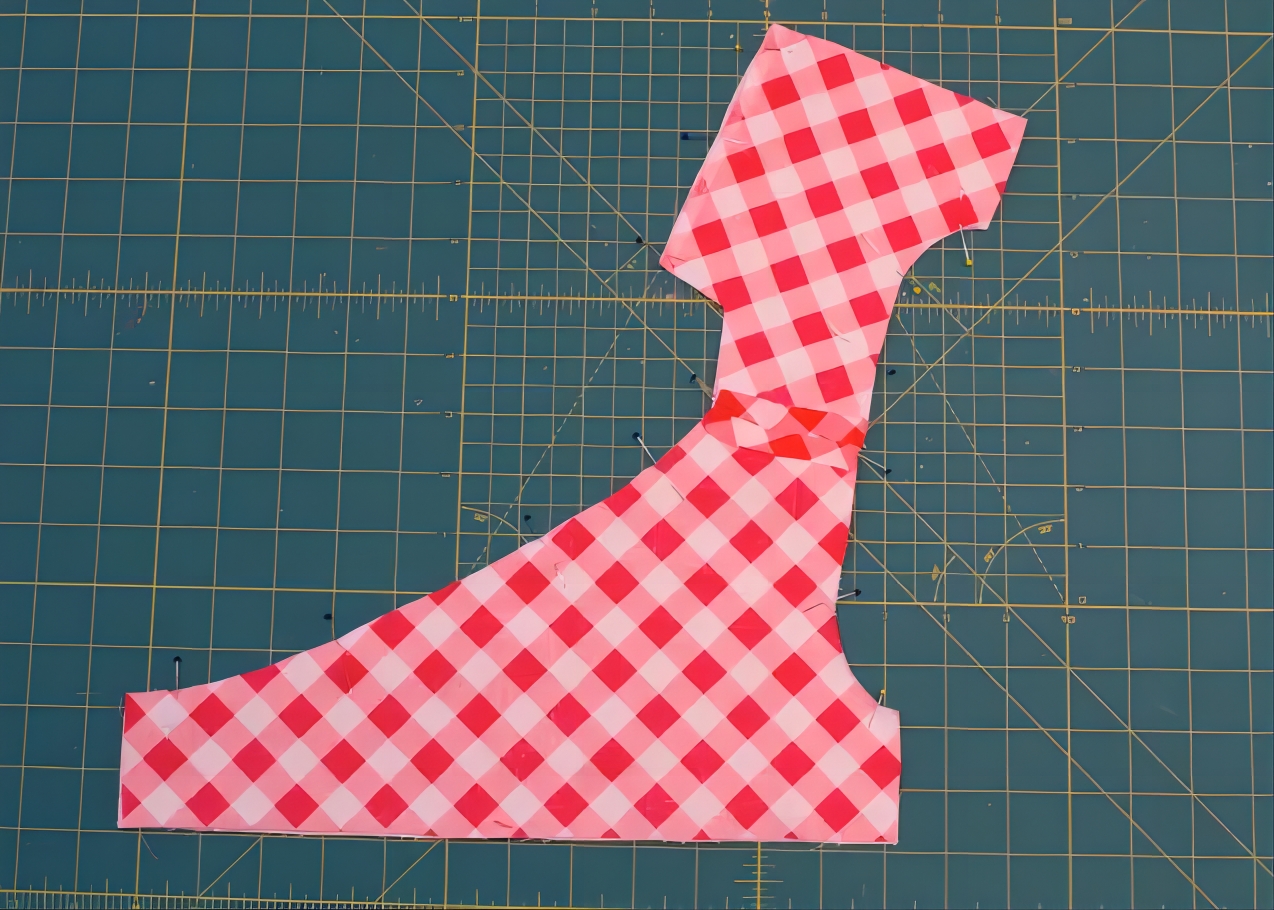
Cut the front and back pieces of fabric and lining separately according to the pattern, noting that the white patchwork part of the front top is the same colour as the lining fabric.
2.Cutting skirt pieces
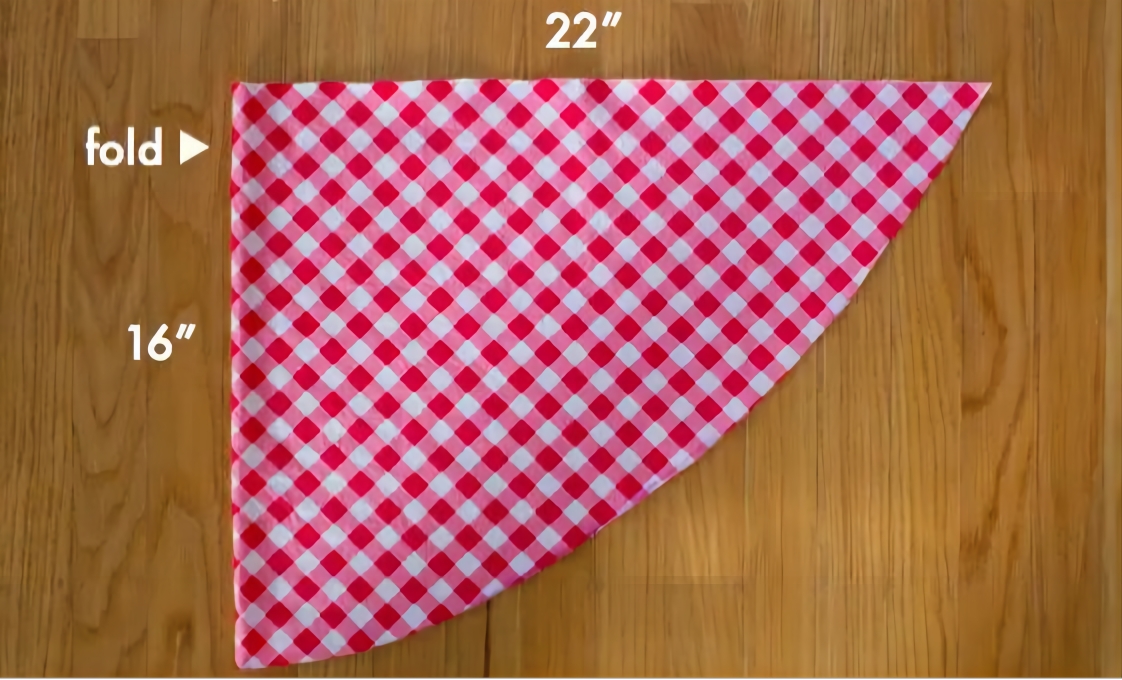
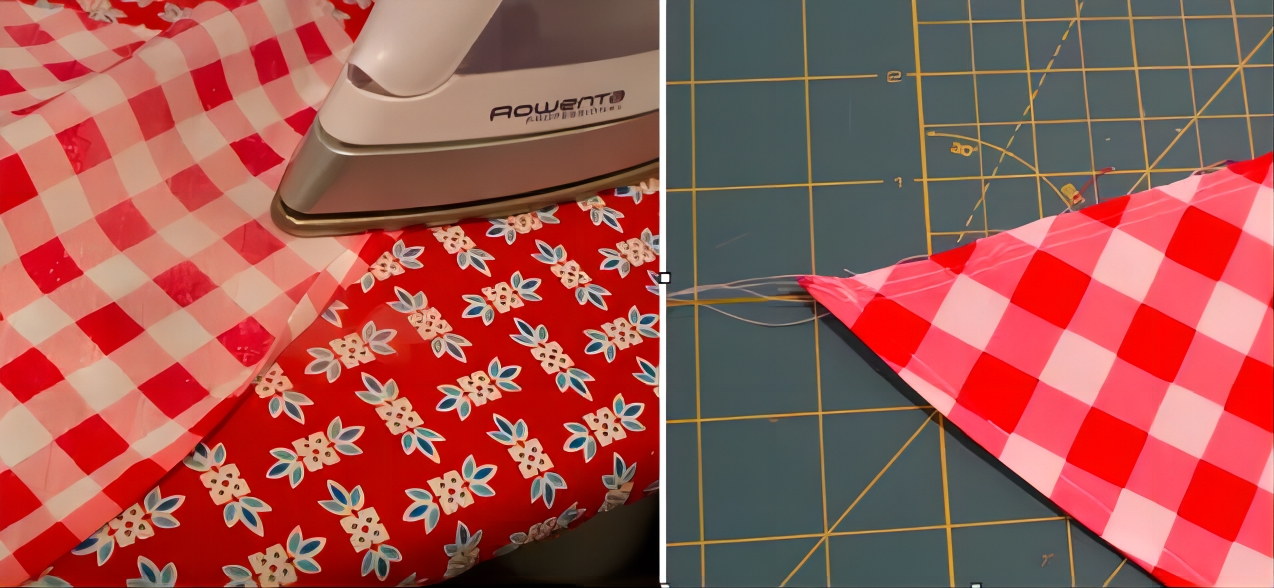
Draw a rectangle of 60cm*41cm and use it to cut the white lining directly from the skirt. Draw curved lines along the opposite corners and cut off the excess, marking the cutting direction. On the fabric, use the width as a folding line and cut out the face fabric irregular skirt pieces in the cutting direction. Again, either rectangular or irregular shaped skirt pieces can be cut directly from the folded fabric by drawing on the fabric, remembering to add seam allowance.
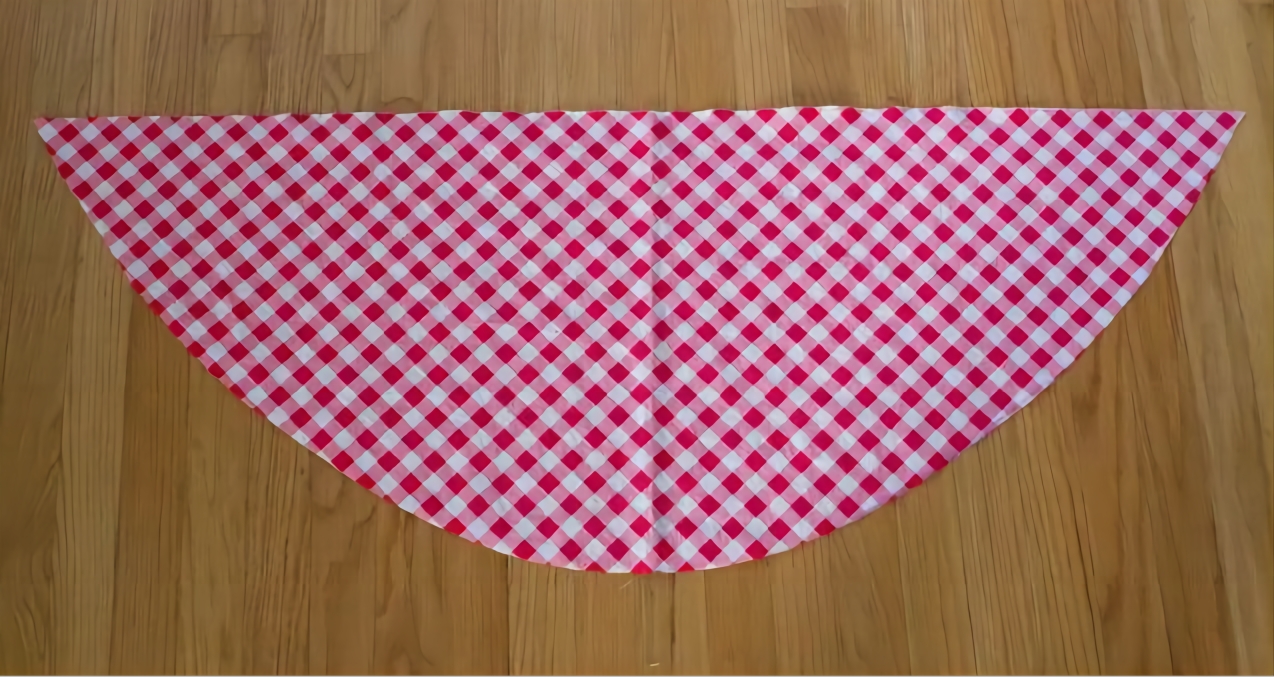
This is what the irregular skirt piece looks like when unfolded. This is a larger shape because it has to draw pleats at the top where it links to the top.
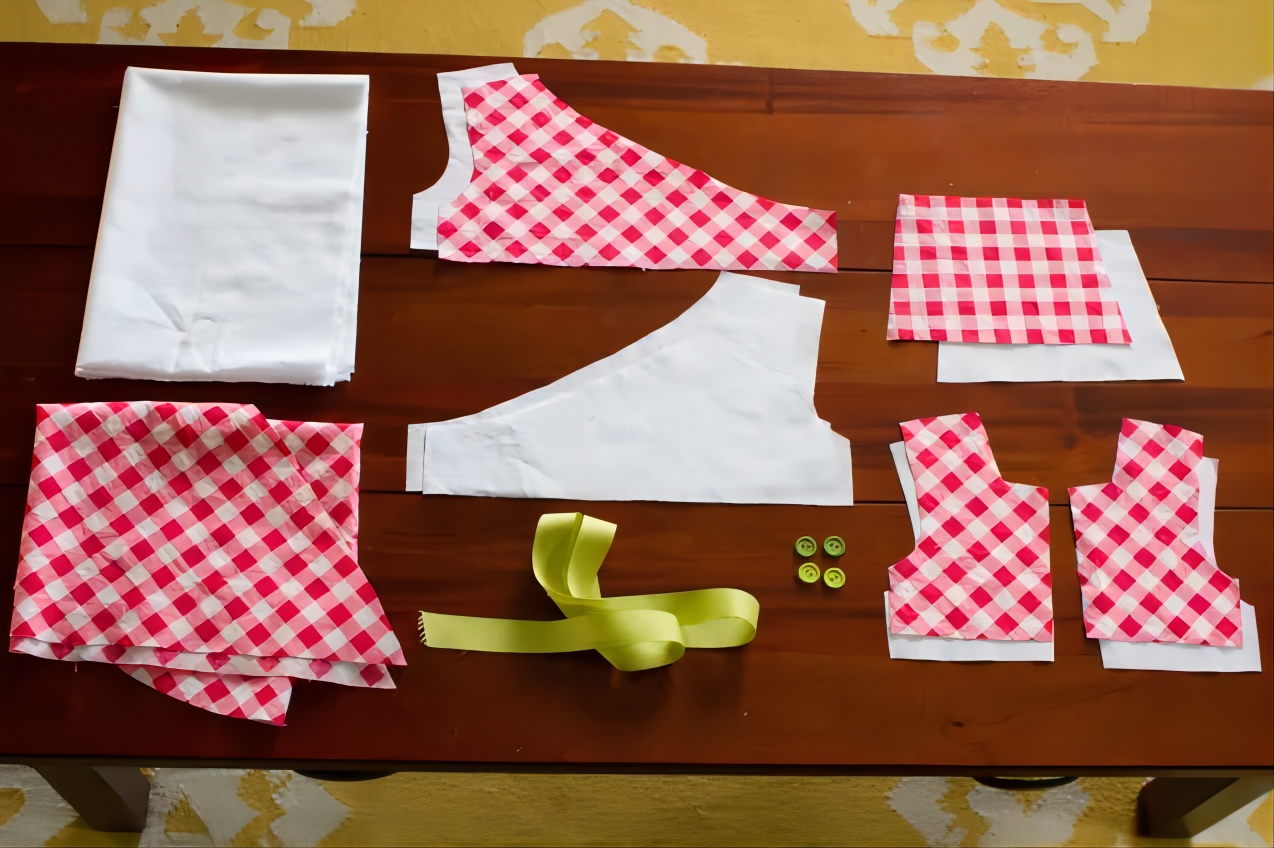
Here are all the cuttings and accessories that I have prepared.
- Begin to sew
Stitching is always 1.2cm unless otherwise stated
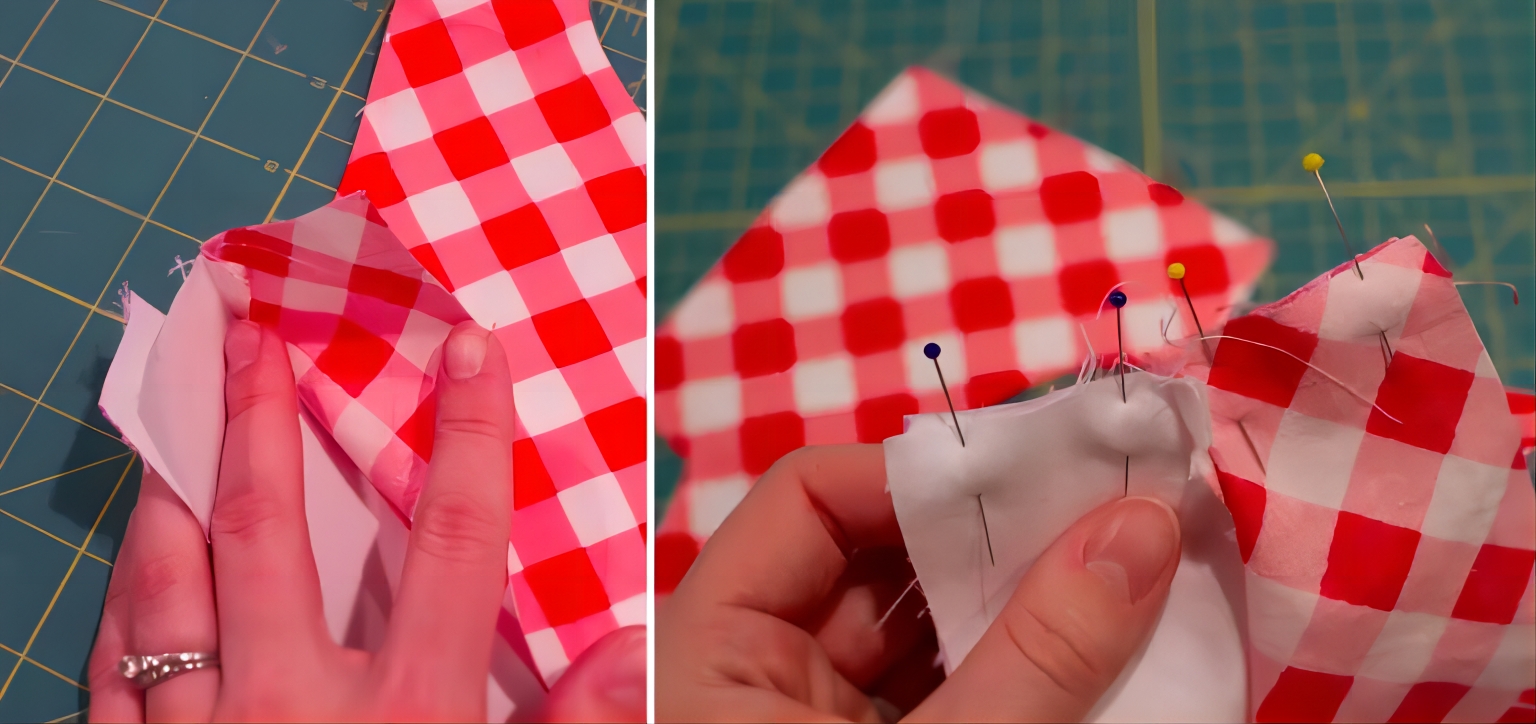
First sew the back piece face and lining together on the reverse side sewing the three sides together leaving the bottom. Turn back to the front and iron and turn bright lines.
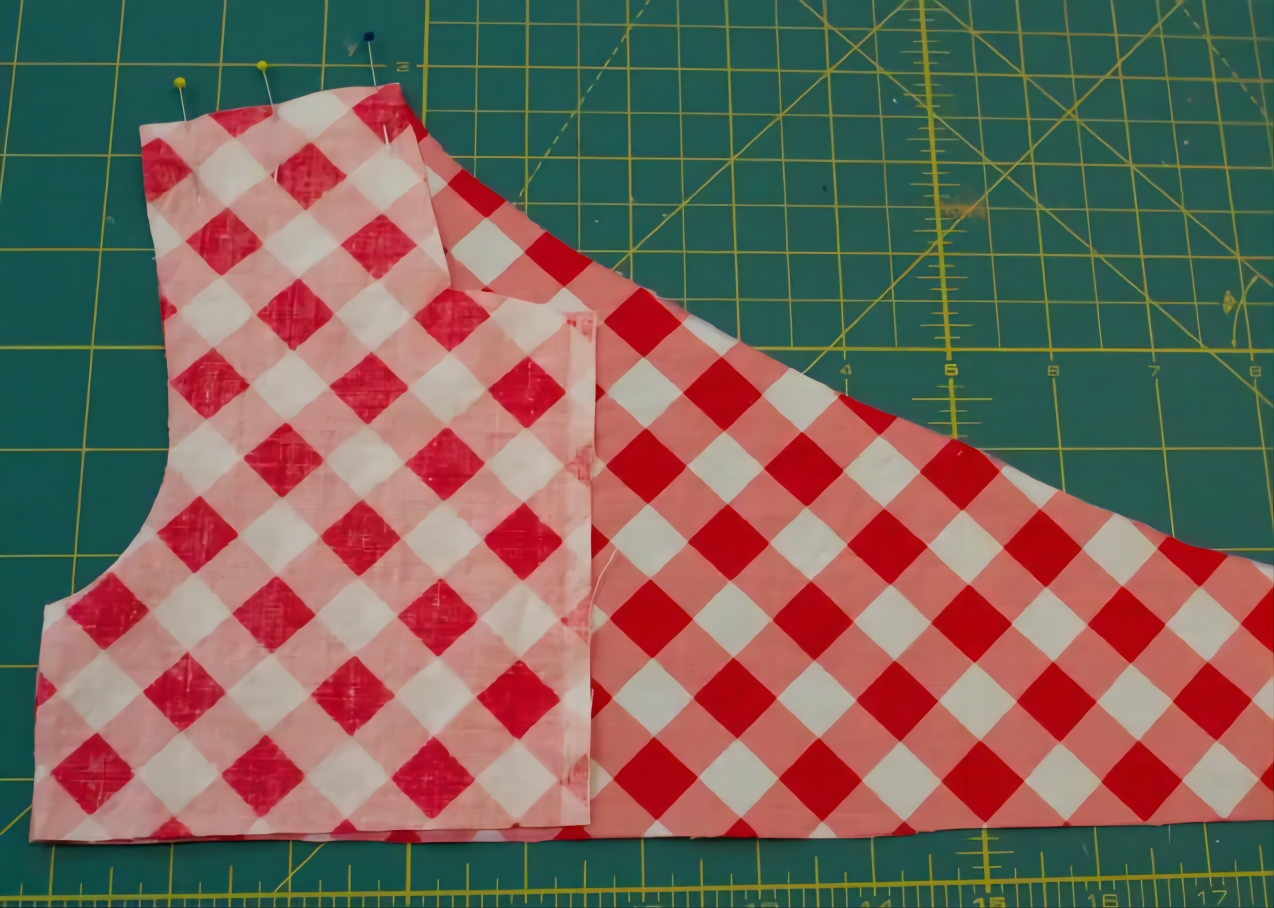
Sew the front piece to the back piece of the facing fabric in the shoulder seam.
 Note that this is the front piece of pieced top fabric with the back piece of top fabric, not the lining.
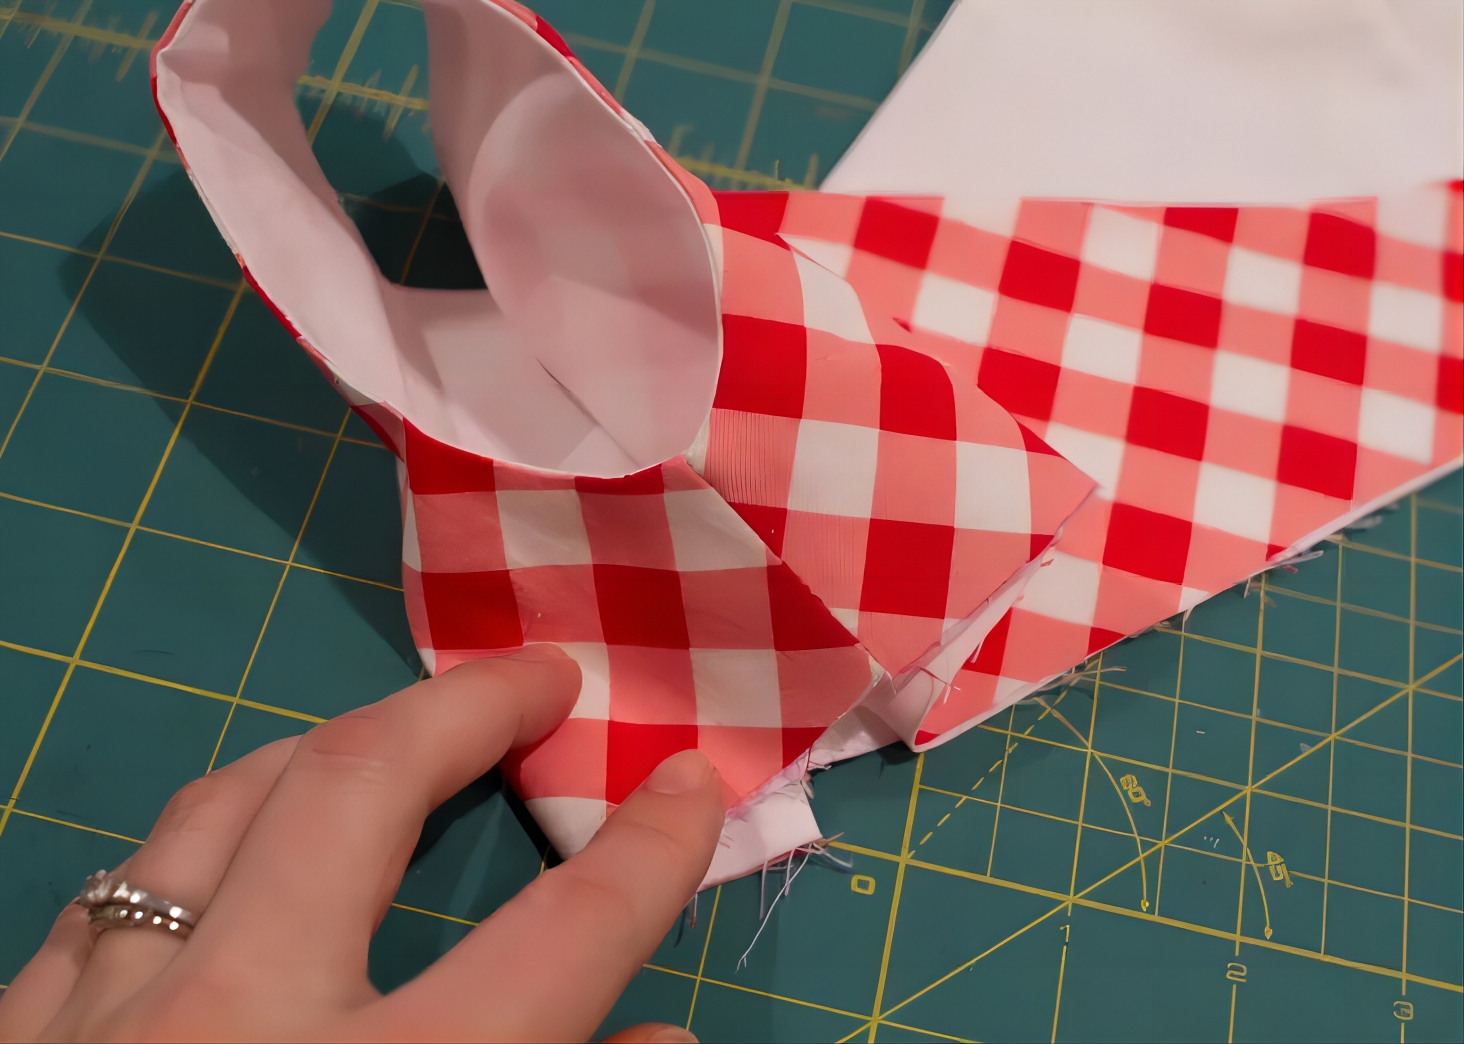
After the top fabric has been pieced together with the shoulder seams, the front and back pieces of lining are pieced together in the same way. Sew the face fabric to the lining on the opposite side and sew the rest of the fabric except for the waist and side seams. The sleeve holes are left unstitched for 1 to 2 cm near the side seams.
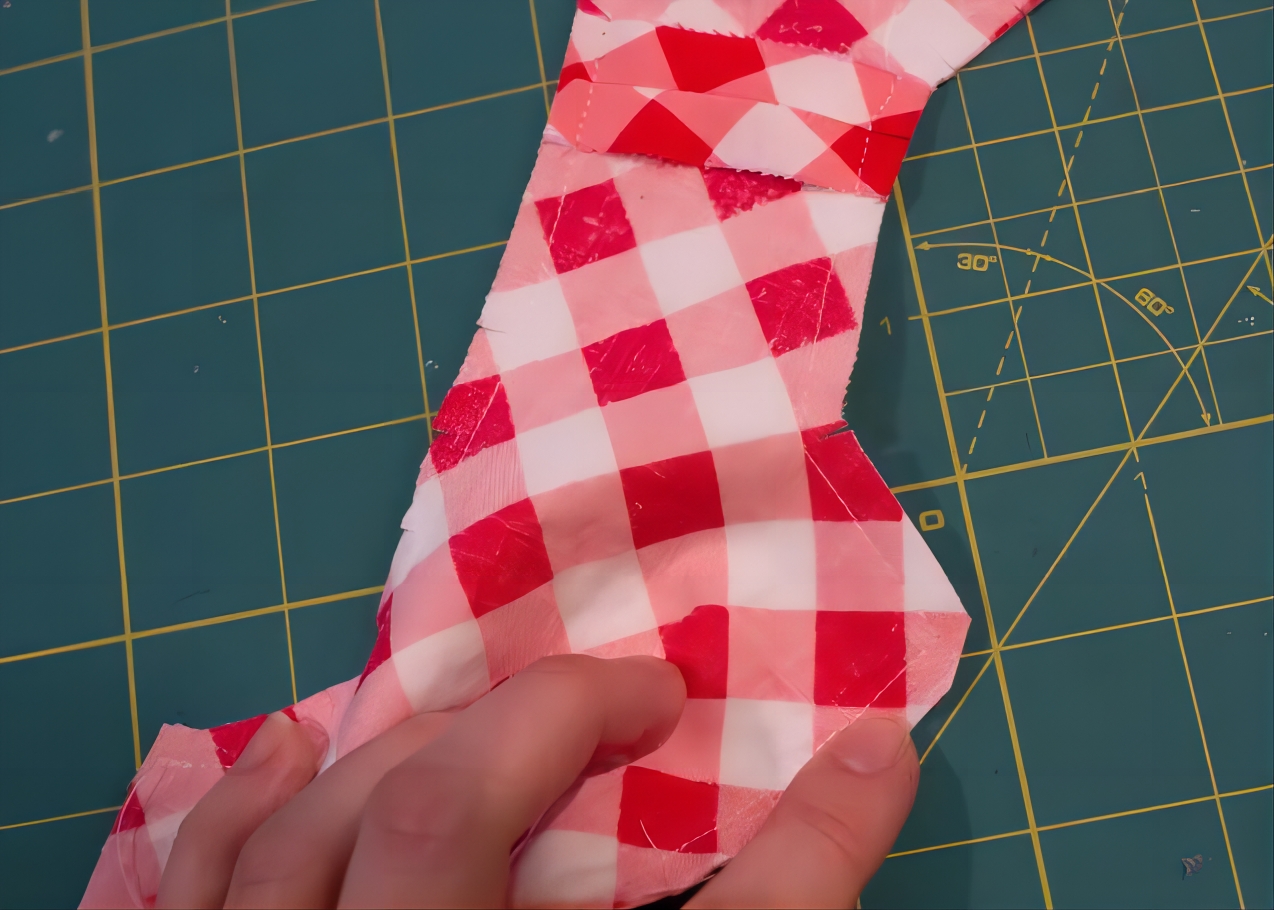
Turn the sewn front and back pieces back to the front and iron them.
Ok, here’s the tricky part to explain ……
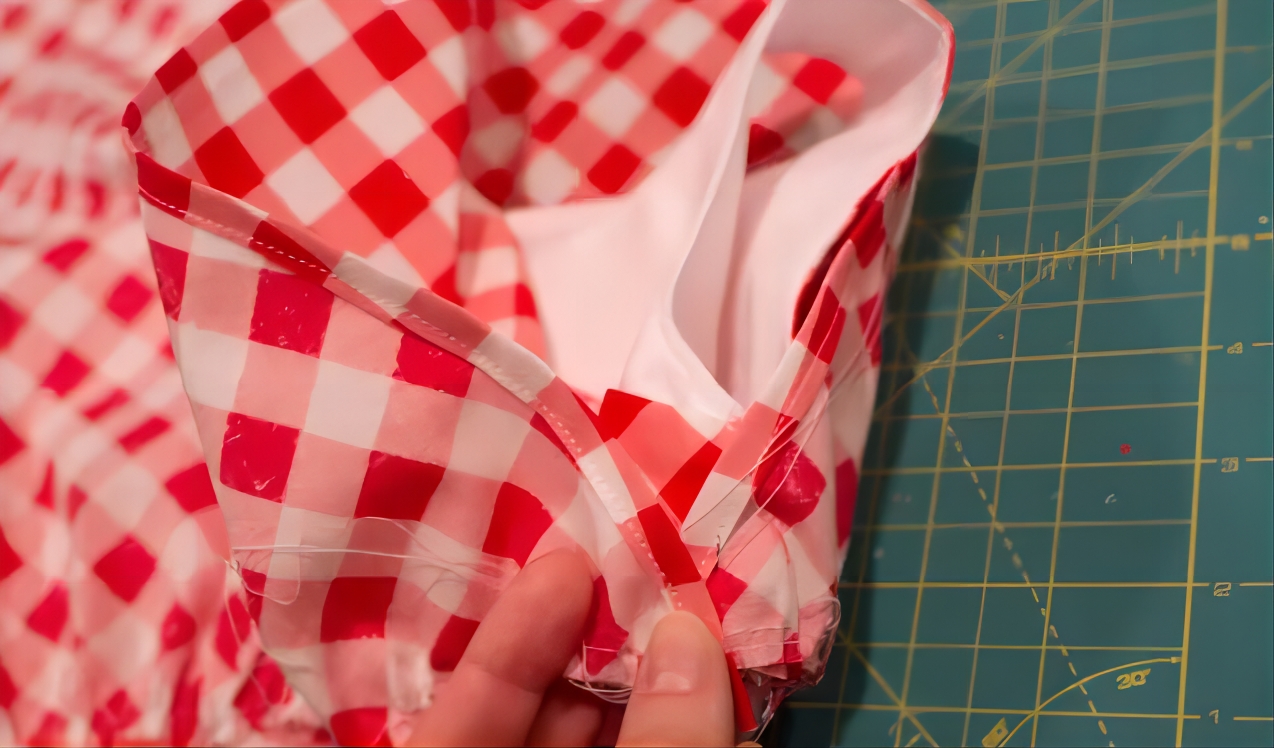
This is when you need to sew the side seams. Before sewing, you can let your child try them on and decide on the seam allowance based on the fitting. To sew, sew the lining of the front piece to the lining of the back piece and the front facing to the back facing. Iron and press the seam allowances.
After sewing the side seam
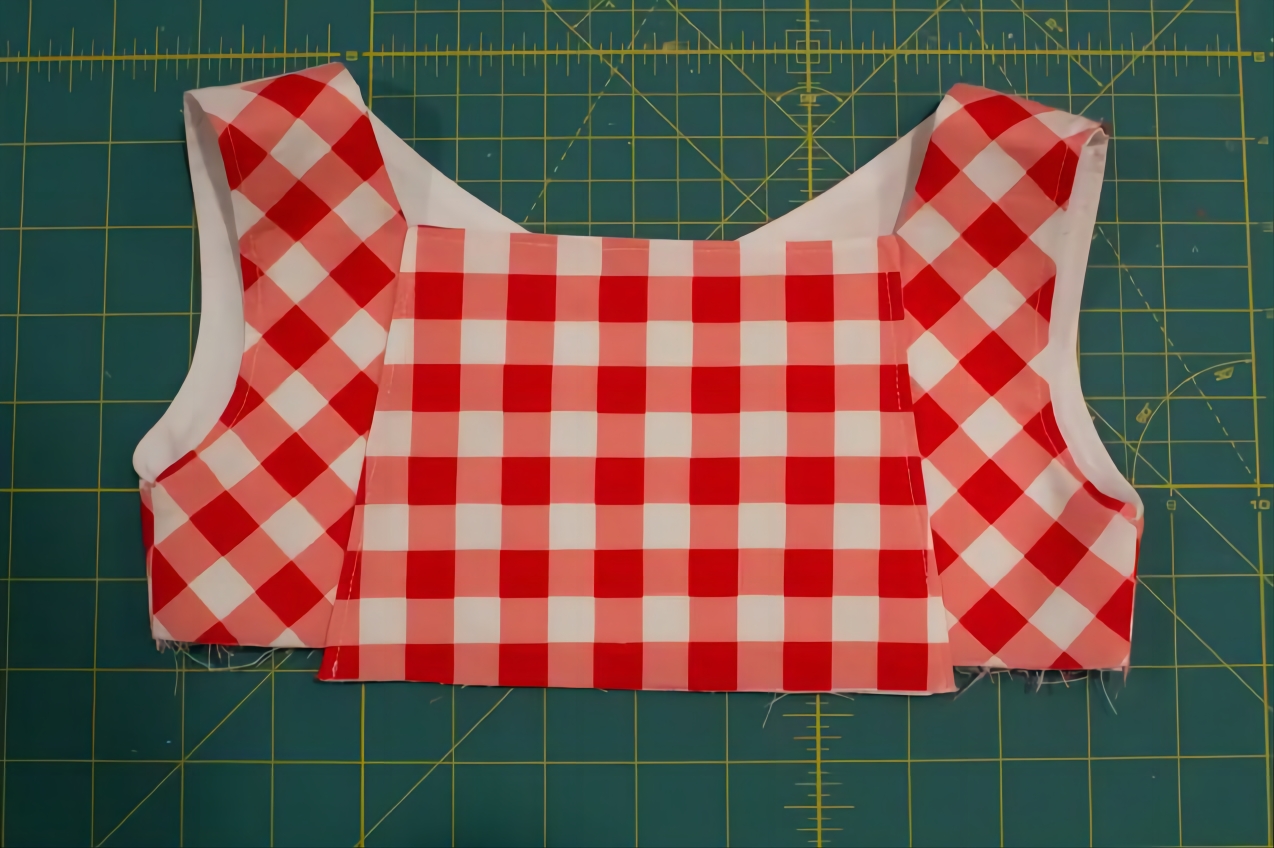
If no need button adjustments, you can just put the trapezoid of the back piece together directly. If you need to sew on buttons, ignore this step and go down.
The hem of the skirt is folded and ironed with a fine hem and turned with bright stitching.
The skirt piece is pleated at the waist and adjusted to fit the waist of the top.
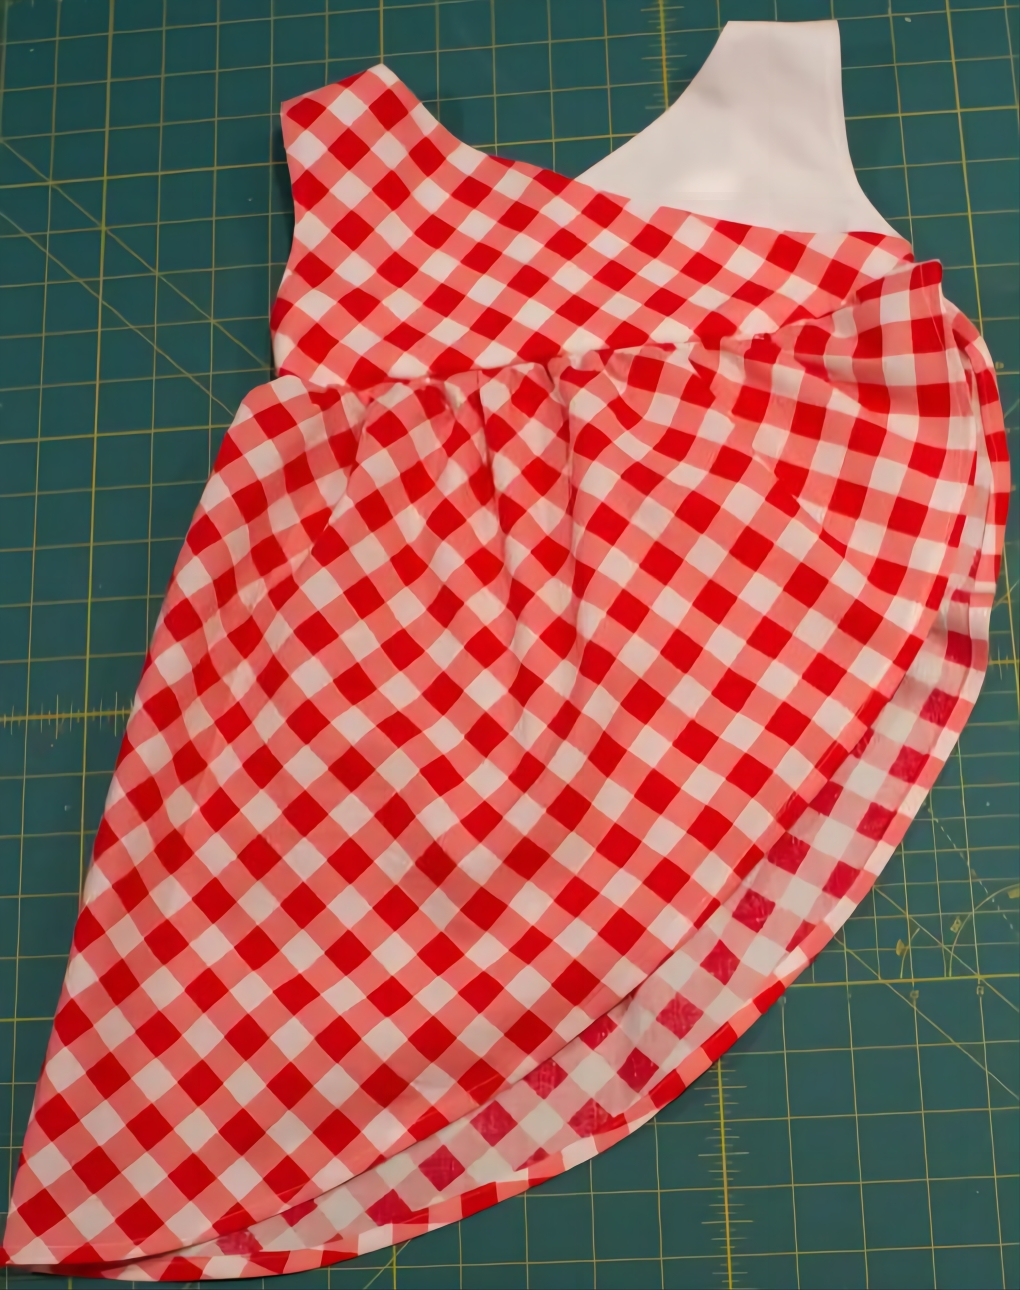
Sew the top to the skirt piece, remembering that it is sewn to the top fabric layer of the bodice.

The other part of the skirt piece (equivalent to the skirt lining) is drawn and pleated to the same length as the waist of the top.

The skirt lining is then pieced together with the top lining.
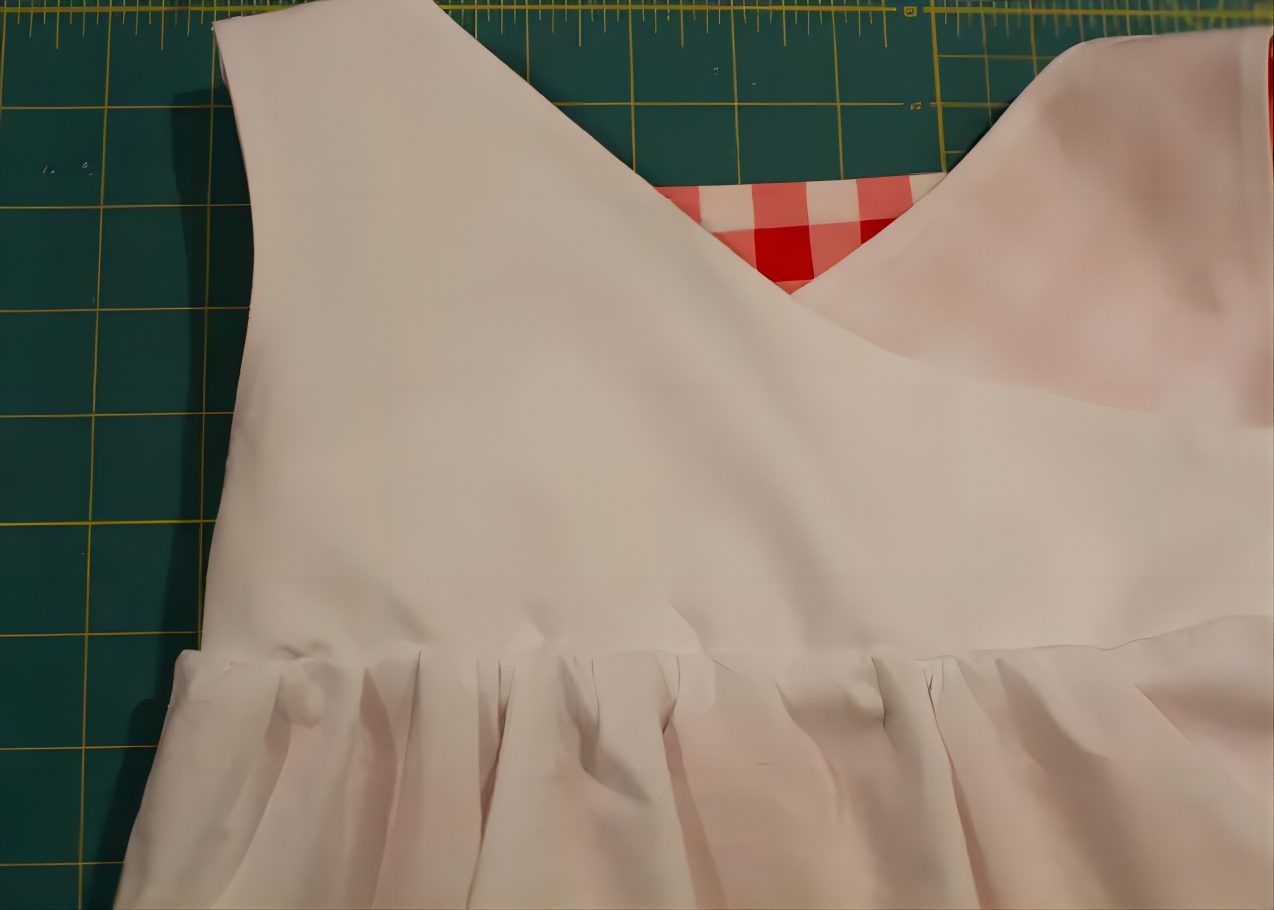
The lining is sewn in place. I think the child will be more comfortable in this way and the dress will be more voluminous and beautiful.
The hem of the lining is folded and ironed with a bright line, which can be slightly shorter than the face fabric.
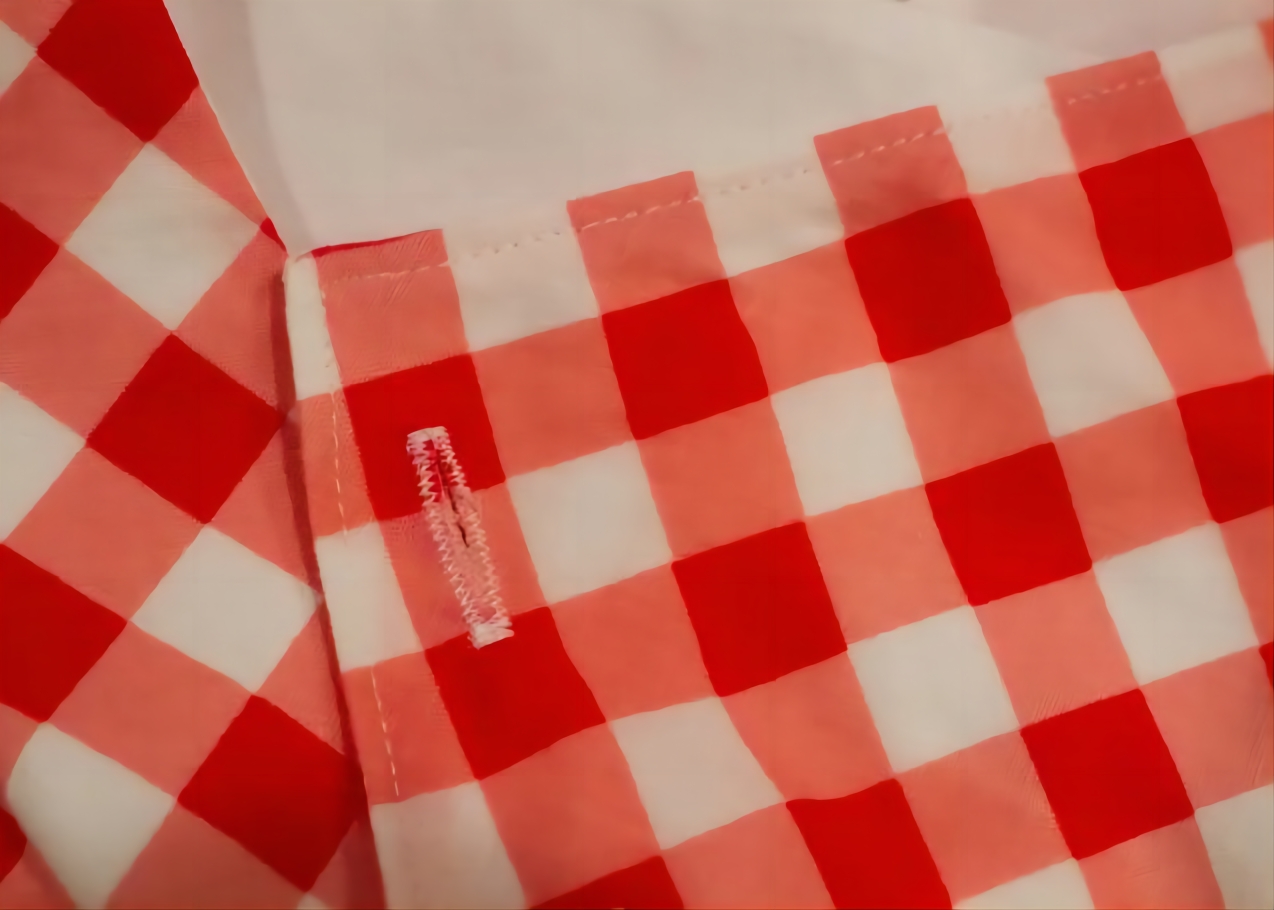
Now add four buttonholes, two on each side, to the trapezoid of the back piece of the top. Mark the positions with water-soluble markers and sew on the buttons.
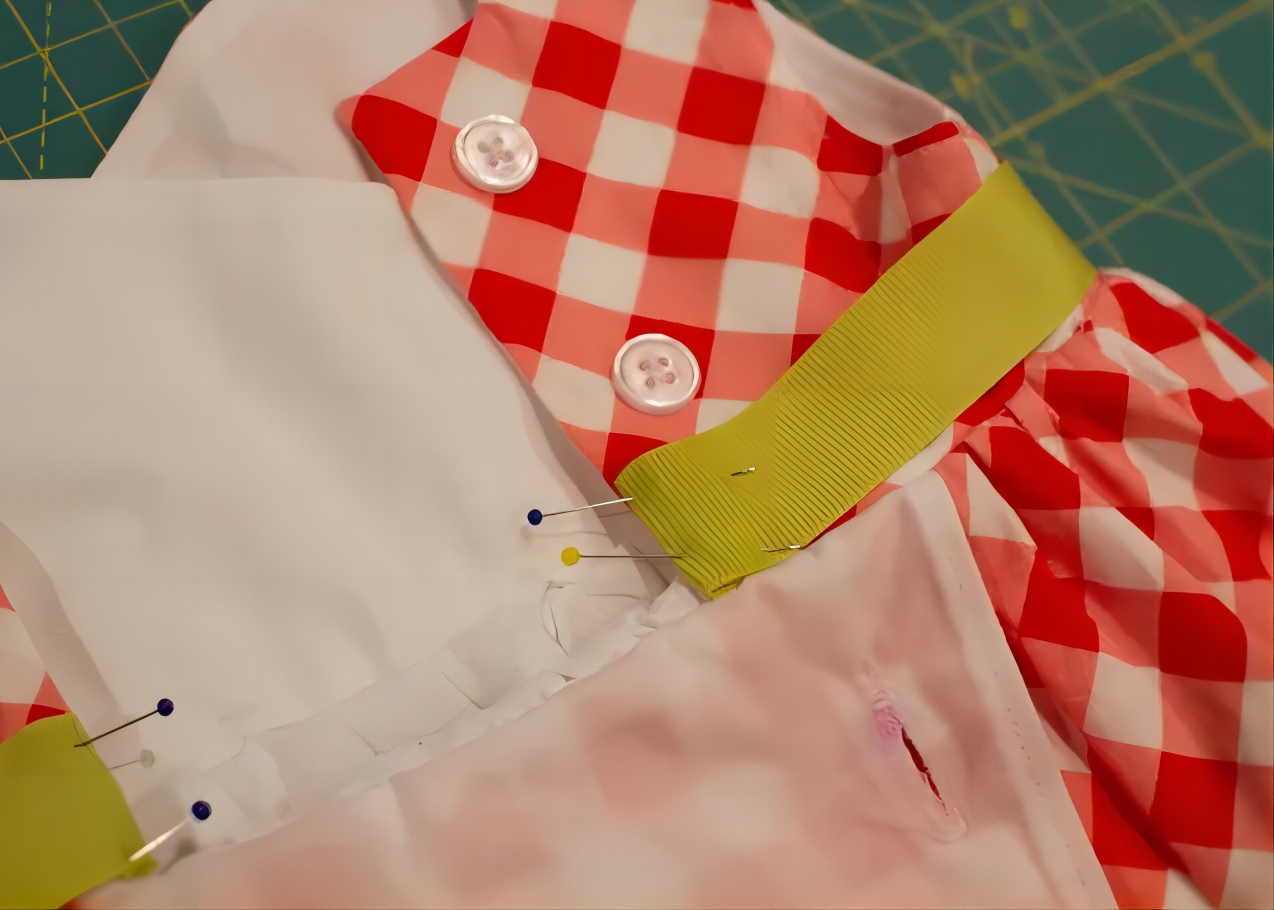
Finally choose whether or not to add the ribbon. The ribbon is stitched at the end folded, with a suitable hand stitch or two in the middle to secure it, or just drape it, remembering to leave some extra margin rather than a tight fit.
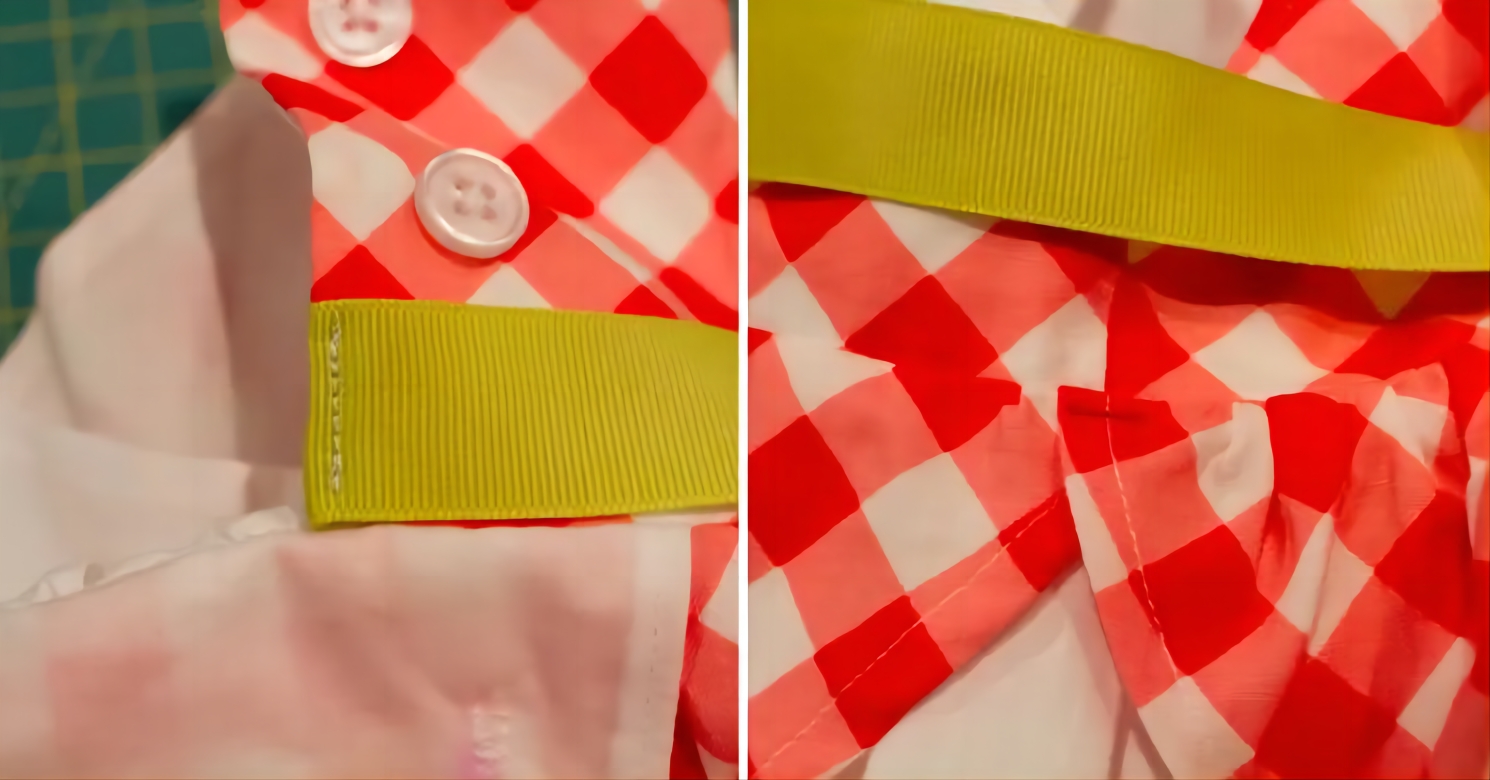
It is also good to fix a few stitches in the side seam if it is overhanging.
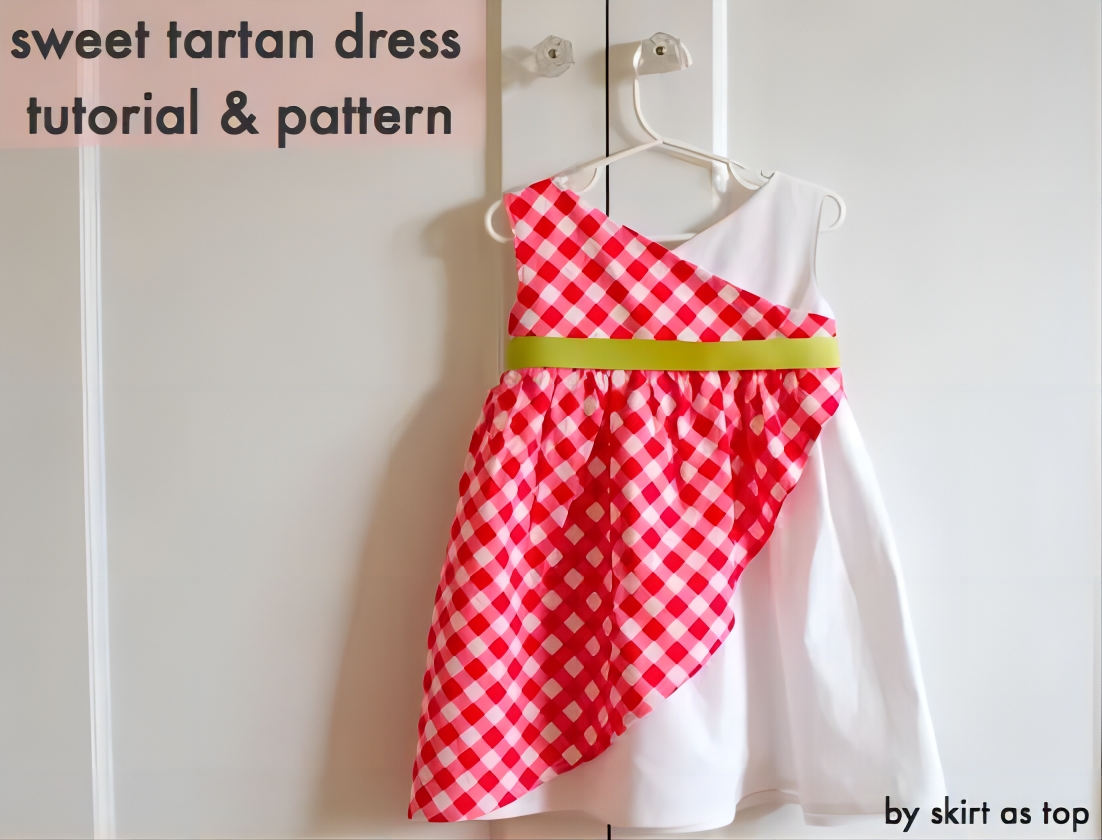
Okay, you finished!